
Boost Your Curb Appeal Today with New Front Door Paint
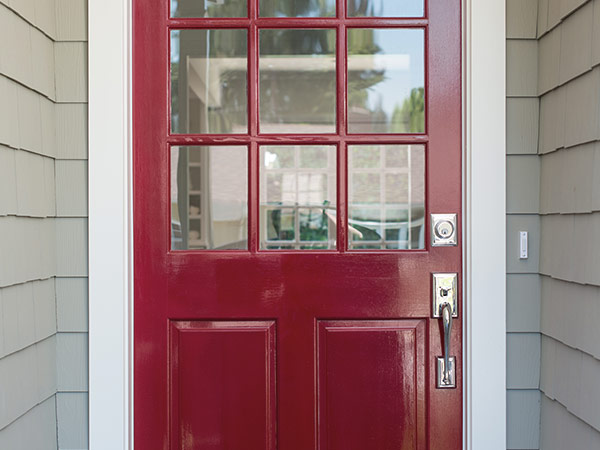
Changing the color of your front door paint can give your home a whole new look. Not only can it drastically improve your home’s curb appeal, but it’s also a project that’s quick, inexpensive, and easy to tackle. In just a few hours and for the cost of the paint, you can add drama, whimsy, or country charm to your home’s entrance.
While we can’t tell you which front door color will look best (Glidden has great inspiration and advice to help you pick an exterior door paint color), we can walk you through the process of repainting your front door. Plus, our experienced team has some great ideas on what to do with any leftover paint you might have.

Planning Your Front Door Paint Project
The first step is determining what type of door you have and its current finish. Doors are usually made of fiberglass, steel, or wood and are finished with oil-based or latex-based exterior paint or with stain.
Next, it’s time to decide exactly what you’ll be painting—just the door itself or the door and the frame and/or trim around it. If you opt for painting the frame and trim, you’ll need to think about whether to make it the same color as the door or another color.
Selecting the Paint for Your Front Door
Ideally, you’ll know whether your wood or steel door was previously painted with latex paint or oil-based paint. Although oil-based paint is less and less common, front doors are one of the places where oil-based paints are still used because of their very hard finish.
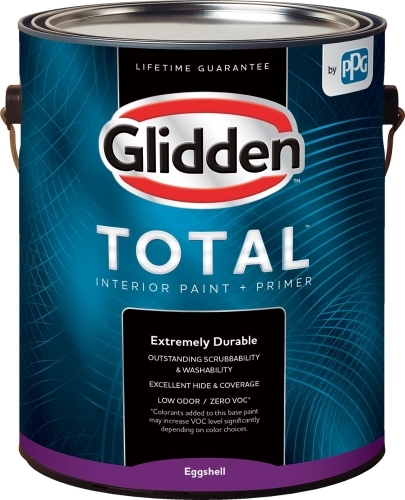
It’s not a good idea to paint oil over latex, but you can apply latex paint over latex, or latex over oil or stain if you sand the surface well. The simplest option that gives excellent results is a semi-gloss latex enamel exterior paint and primer in one that eliminates the need for a primer coat before the finish coat.
Prepping Your Front Door for Paint
Decide whether you will paint in place or remove your door for painting. Painting the door while it’s hanging can be tricky, but if you’re working alone, this is the way to go. It’s nearly impossible to remove, then rehang, a door on your own.
Whether you’re painting it in place or not, remove the hardware. Some people choose to leave it in place, tape it off, and paint around it, but you’ll get a much nicer finish if you remove it and clean that, too. Or consider an upgrade to new door hardware while you’re at it.
Regardless of the type of door you have, you’ll want to give it a good cleaning with water and a mild detergent. Let it dry completely.
Then, inspect for any nicks or scrapes in fiberglass or wooden doors. If your door is steel, you’ll have to live with any dents you find, or replace the door entirely because they cannot be filled or fixed. The good news is a fresh coat of semi-gloss paint can help deflect attention from little imperfections.
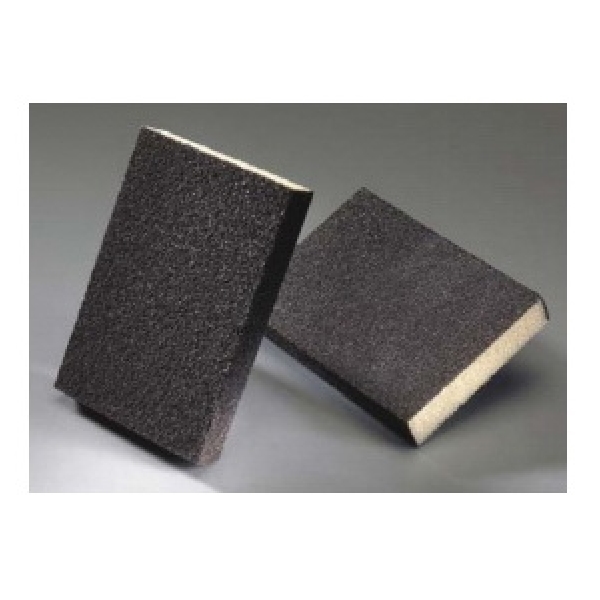
Fill any cracks or holes in wooden or fiberglass doors with putty and let dry. Sand smooth with fine-grit sandpaper, then dust thoroughly.
If you’ve opted to paint the door while it’s hanging, protect the interior and exterior floor and door sill. Allow the door to stand open while you paint.
What to Tape
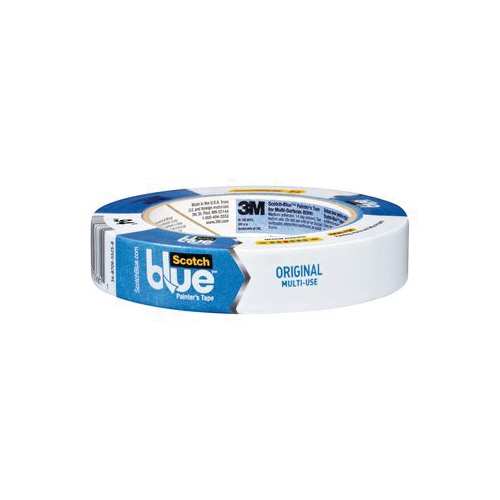
If you haven’t removed your hardware, mask it off now with painter’s tape. Tape off the hinges if your door is hanging. Don’t bother to tape off any glass panels in your door. You can wipe paint off while it’s still wet or remove any bits of dried paint on the glass with a utility knife.
Now the big question: Do you paint the edges of the door? Actually, there is no “right” answer to this—it’s really up to you. If you do plan to paint the edges and the inside of the door is a different color, be sure to tape around the inside face of the door to make sure it stays clean. Otherwise, cover the door edges with tape.

Painting Your Front Door
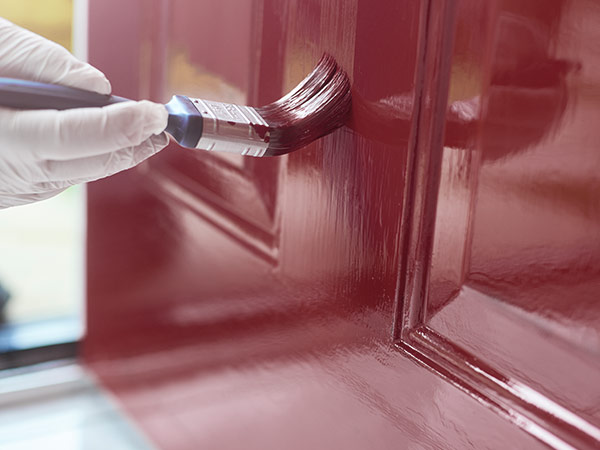
Most front doors have some sort of decorative elements such as moulding, mullions, or raised panels to give the door some interest. If your door has panels, begin painting at the uppermost edge of the top left panel with an angled brush.
Paint the top, side, and bottom edges of the panel, working along the real or faux grain. Smooth the paint, then paint the raised area of the panel. For this part, you can use either a brush or a small roller and smooth out any edges between the edges and the raised area.
Continue around each panel from left to right, top to bottom. The same steps apply to painting moulding or mullions. Let the door dry completely, then assess if you need a second coat. Usually, it takes about four hours for the paint to dry.

Great Ways to Use Up Your Leftover Paint
It’s very likely you’ll have at least a little bit of paint leftover. While it’s a good idea to keep some on hand for touch-ups, you may also want to try one of these ideas to enhance your curb appeal further.
- Paint the trim around your first-floor windows. Depending on the type of window and the look of your home, you might paint just the sills.
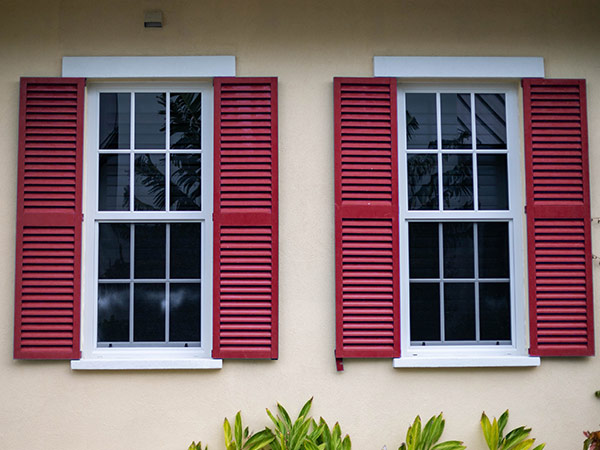
- Add shutters to either side of your door and paint them to match, or paint existing or new window shutters.
- Mount simple window boxes and paint them to match your door.
- Flower pots take just a little bit of paint; you can even paint just the rims.
- Touch up your mailbox with a fresh coat of coordinating paint. You may need to prime with Rust-Oleum® to ensure the paint will stick.
- Paint a piece of scrap wood, apply house numbers, and mount it alongside your door.
Your Source for Painting Supplies
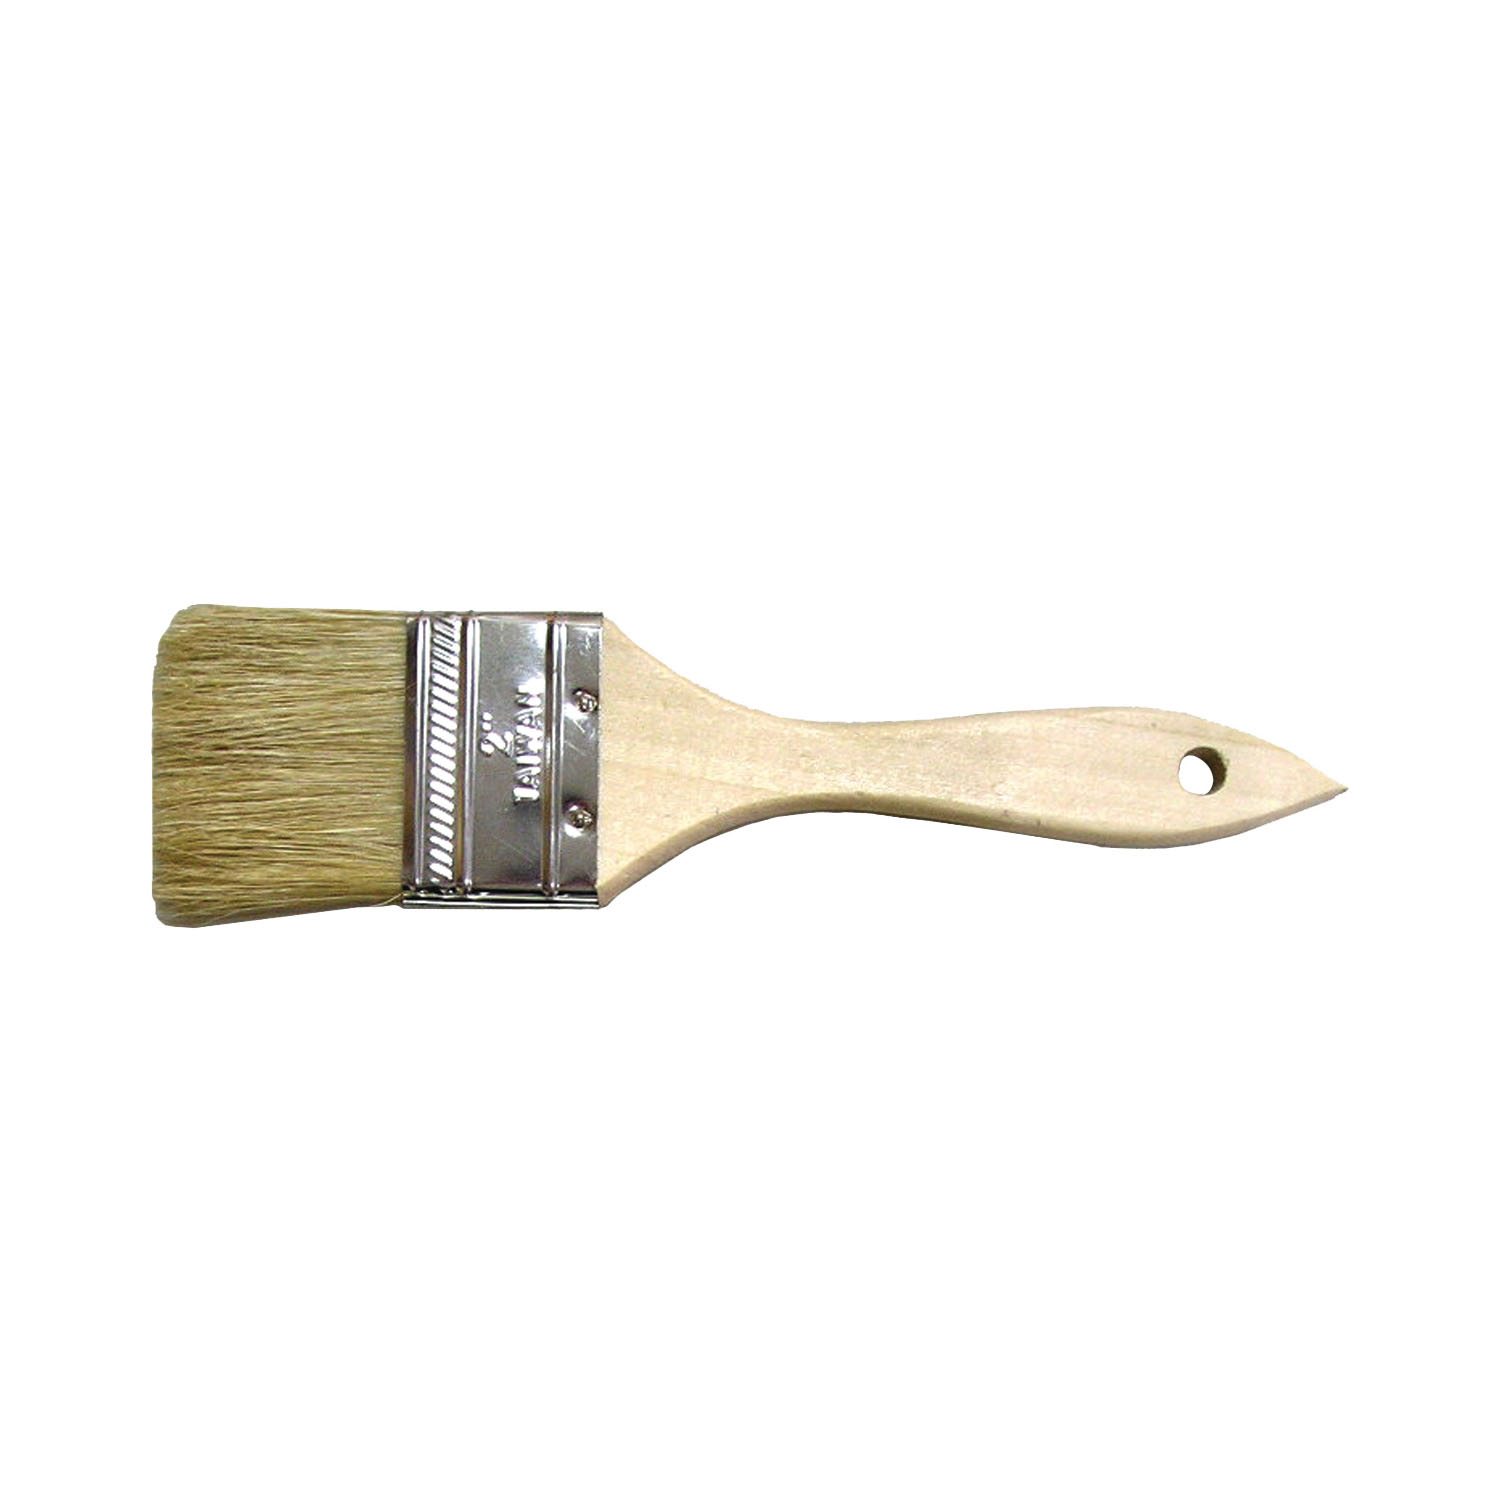
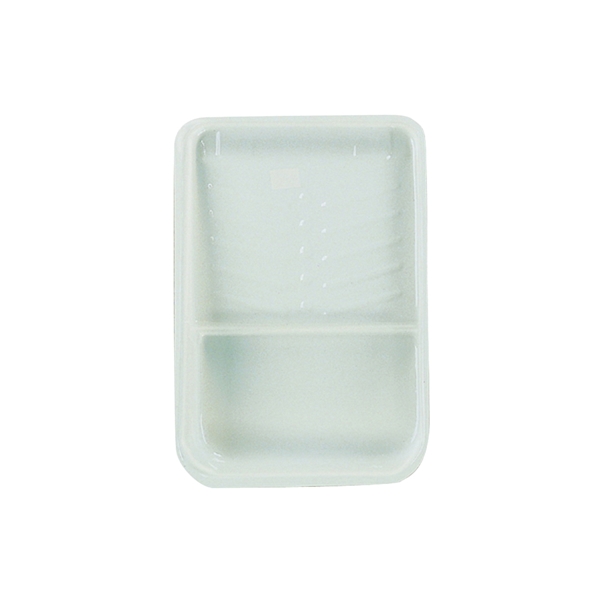
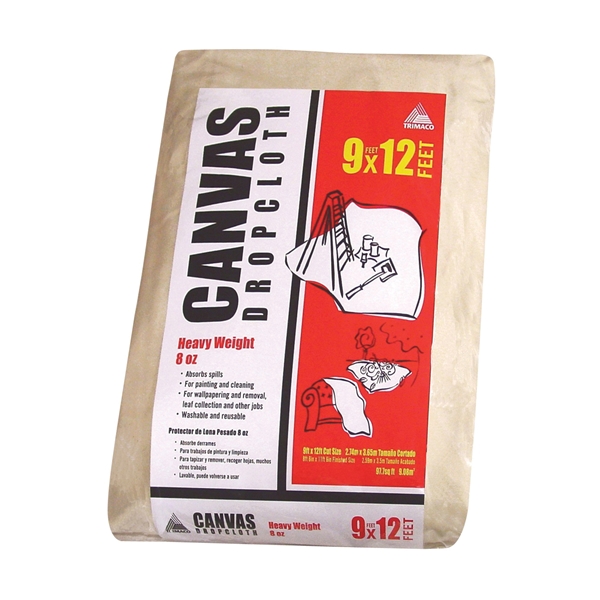
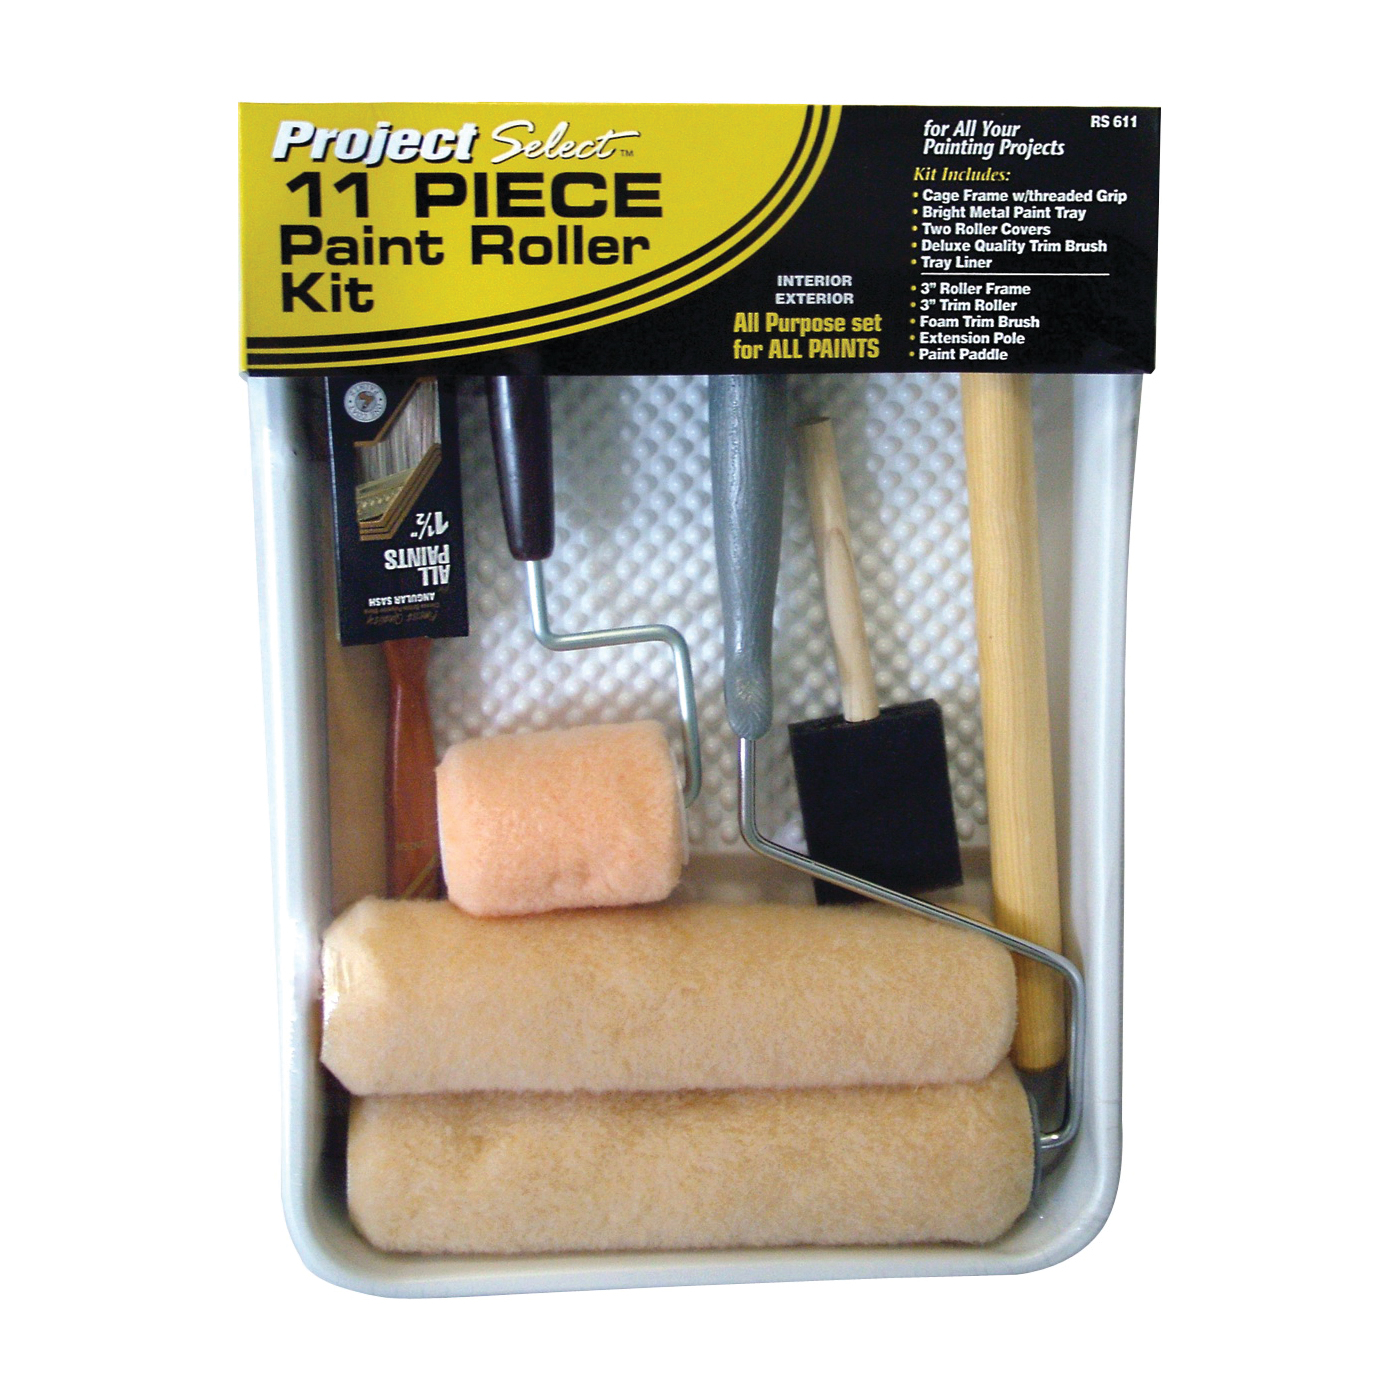
Whether you’re a seasoned pro or just getting started on improving your home, we’ve got what you need at your local McCoy’s. From brushes, rollers, and trays to tape and drop cloths, you’ll find everything to make your weekend project a success. Plus, we’ve got the finest paints in every color of the rainbow, so you can take your home’s entry from just functional to fabulous in just one day.

