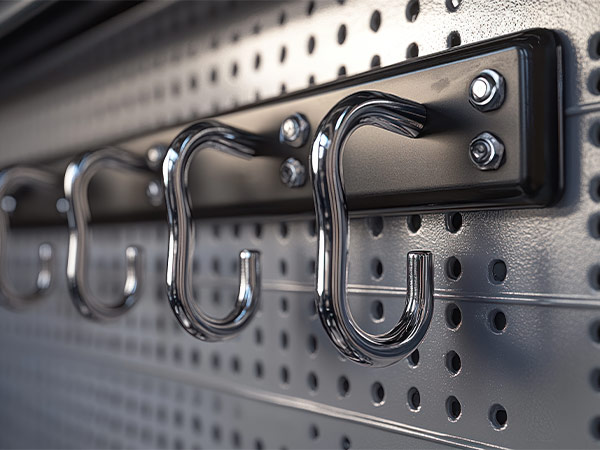

How to Hang a Pegboard in Your Garage or Workshop
Is organizing your garage or workshop one of your New Year’s resolutions? If so, we have the solution to get you started: a customized pegboard. Pegboards are wall-mounted organizational systems that allow you to easily access all your most-used tools - from nails and hammers to power tools and gardening tools. Having your tools visibly organized is much more convenient than digging through crowded drawers. Here are some tips for how to install and accessorize your pegboards.
Different Types of Pegboards
There are several different materials to choose from when customizing your pegboard. Here are some advantages and disadvantages of each.
- Masonite: This is constructed of compressed fibers of wood combined with resin and coated in oil. it's a common, easy-to-find, and cost-effective choice. However, it's not suitable for storing heavy power tools. It’s best used to store lightweight supplies and smaller tools. It does not withstand moisture, and if oil is spilled on it, it can quickly deteriorate. It can also warp under excess weight.
- Metal: This type is made of solid steel or stainless steel and it looks super sleek. It's a heavy-duty option, which can hold a lot of weight. So, if you’re looking to store big tools, this is the best choice. Metal also resists warping and can be easily cleaned with a rag. Steel can rust, so if your garage is susceptible to moisture opt for the stainless steel. Metal is a more expensive material, and if your pegboard is holding significant weight, it can damage your sheetrock. Steel also conducts electricity, so be aware when you are working with exposed wires of any kind.
- Plastic: This type is made out of plastic or acrylic and is extremely versatile and durable too. It's lightweight and therefore easier to install. It comes in the biggest variety of sizes and is resistant to rust or warping. It also doesn’t require furring strips to mount. Believe it or not, it can support a heavy load. It’s budget friendly too, making it an ideal option.
- Wood: This type is a good choice if you want to paint your pegboard or use it indoors as wood is susceptible to the elements. It can hold heavy weight, and it does provide a rustic look to any garage or workshop. Wood is more expensive, so many people opt for other materials in a garage or workshop.
You can usually purchase each of these types of pegboards with different hole sizes: 1/4, 1/8 and 1/2-inch. The hole size determines the size of the hooks and the weight that they can hold. The 1/2-inch holes have the biggest hooks and can hold the most weight. The smaller holes hold lighter weight hooks and smaller tools such as wrenches, etc. So, opt for larger 1/4-inch or 1/2-inch holes in your pegboard if you will be storing large power tools. If you’re simply organizing smaller supplies and tools, you can use a pegboard with the smaller 1/8-inch holes.
Tools and Materials Needed
So, what tools and materials will you need to hang your custom pegboard? Here is a complete list, and if you find you’re missing anything, come see us and we will help you find exactly what you need.
- Pegboard (Choose the material and hole size that fits your needs.)
- Screws (3/4-inch screws)
- Furring strips
- Power drill
- Measuring tape
- Level
- Stud finder
- Dust mask


How to Hang a Pegboard
Follow these steps to hang your pegboard.
- Prepare the wall. Make sure the wall is in good condition. Then use your stud finder to mark the stud locations.
- Prepare your pegboard. Measure the size you want your board to be. If it's wood, and it needs to be cut, use a circular saw to cut it down to the size you want. Use a dust mask to protect your lungs. As you cut, clear away dust as it accumulates to ensure accurate cuts.
- Install furring strips. Furring strips are required to create space behind the board for the hooks. Decide how many you need and what size. They should be slightly shorter than the length of your pegboard. Mount the furring strips directly onto studs.
- Mount the pegboard into the furring strips. Use a level to make sure it’s 90 degrees to your wall. We suggest drilling a pilot hole directly through the pegboard holes and furring strip into the stud. Then you can screw it into place without risk of the wood splitting.
- Paint your pegboard. This is optional.
- Attach accessories to your pegboard. Install the hooks and other accessories where you would like to hang your tools.
- Organize your pegboard. Hang your tools in the most accessible location on your pegboard and enjoy your newly organized workspace.
Accessories
A well-organized pegboard can save you time and your sanity during an involved project. Plan out where you will hang your tools according to their function and how often you use your different tools. You can hang your most-used tools at an arm’s length, and other tools on the upper section of your pegboard.
